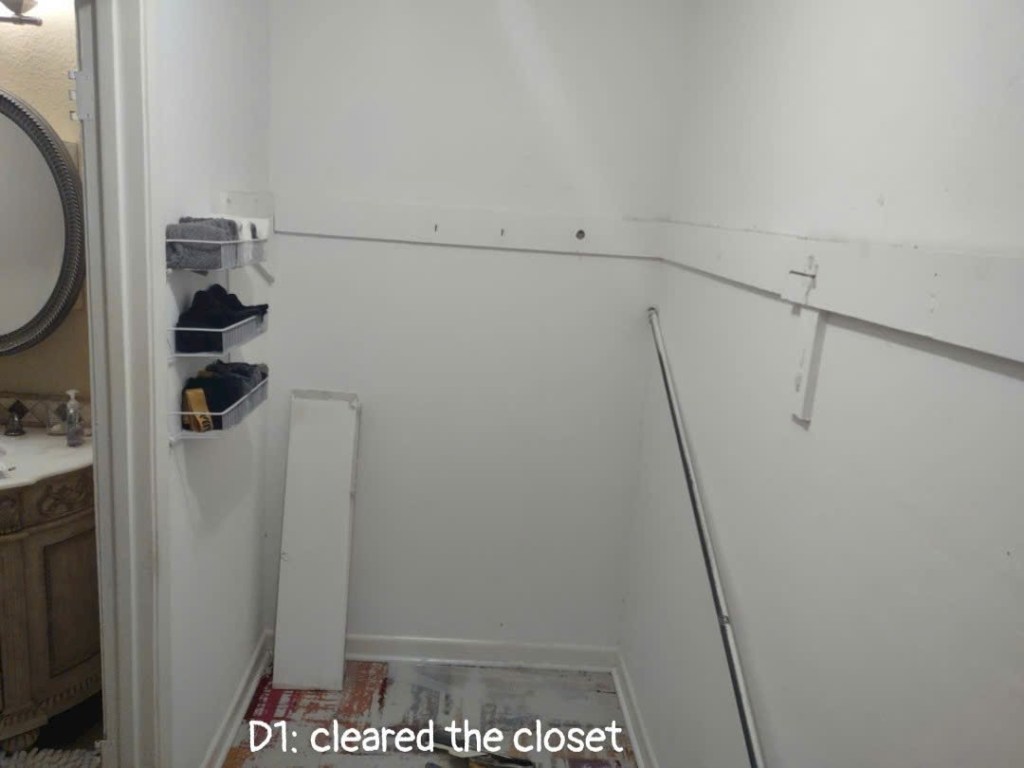
Since we’re probably going to move soon and S’s home now, we’ve been working on the house to get it ready for rent.
We started renovating the walk-in closet in the master bedroom. We are currently tight on time and budget, so we kept the project easy, simple, quick, and low-cost.
I’m mainly in charge of the closet—organizing and arranging everything—so I know how we want the space to be. I sketched out an initial design. S took all the ideas we discussed and created a detailed digital drawing.
We spent $60 on plywood, $20 on a metal pipe and $20 on rod hangers, that is pretty much all the cost. We already had lots of other materials from previous projects, like nails, paint, and trim wood. And since he’s an expert handyman – his words, we have all the tools needed.
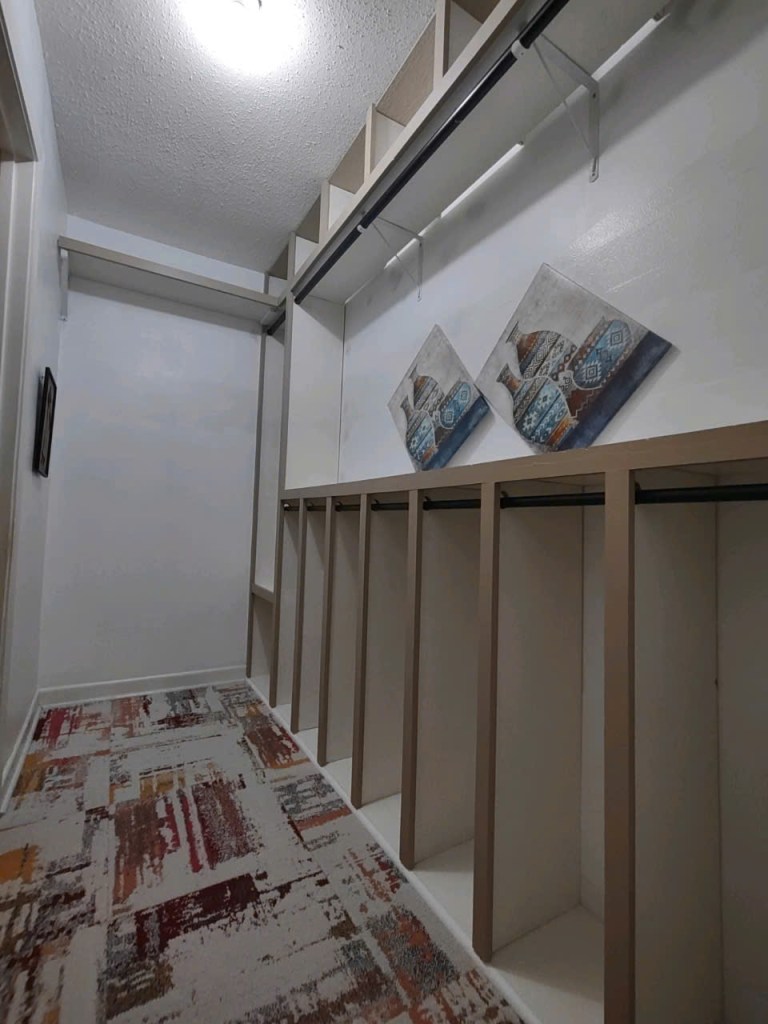


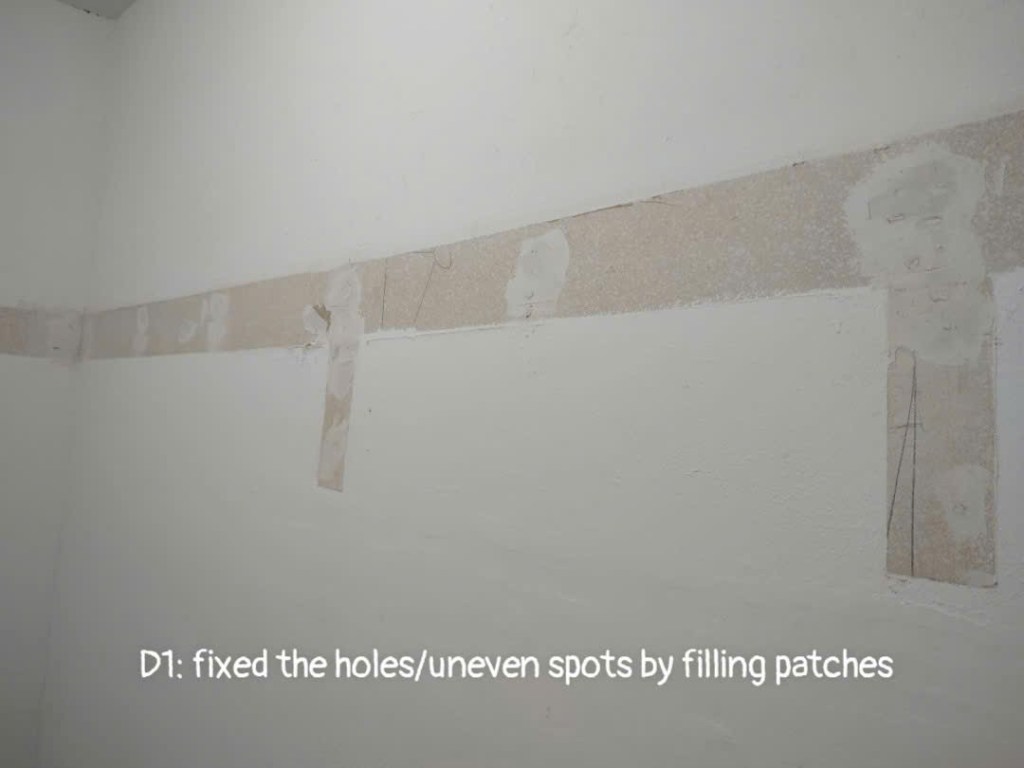
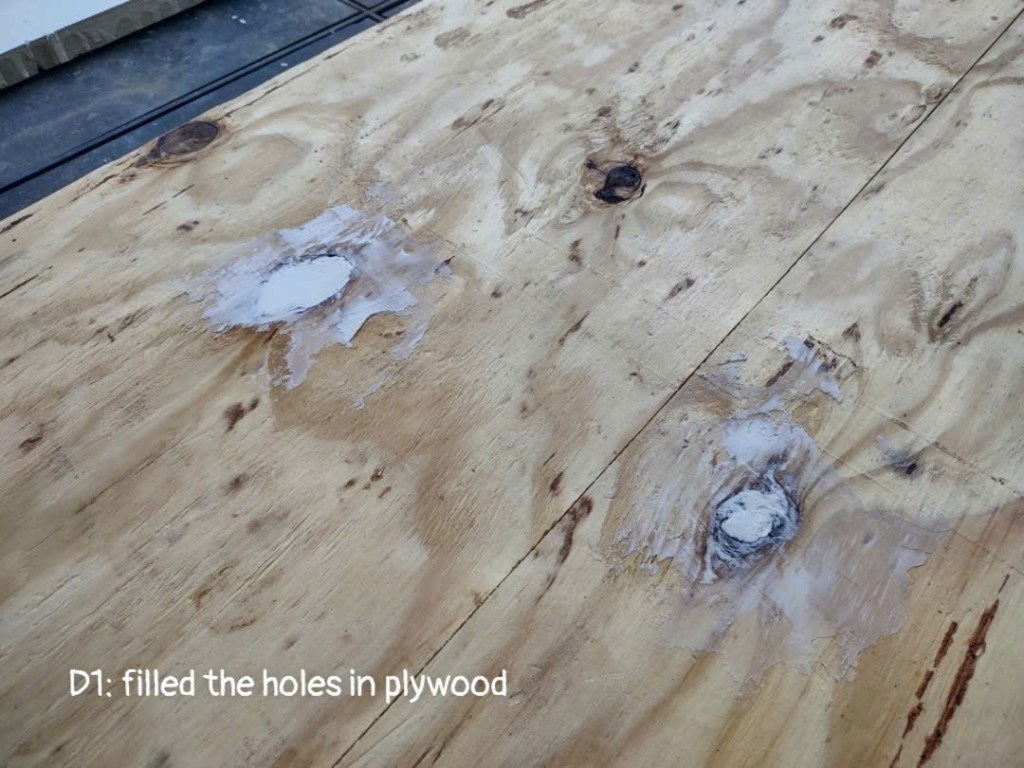
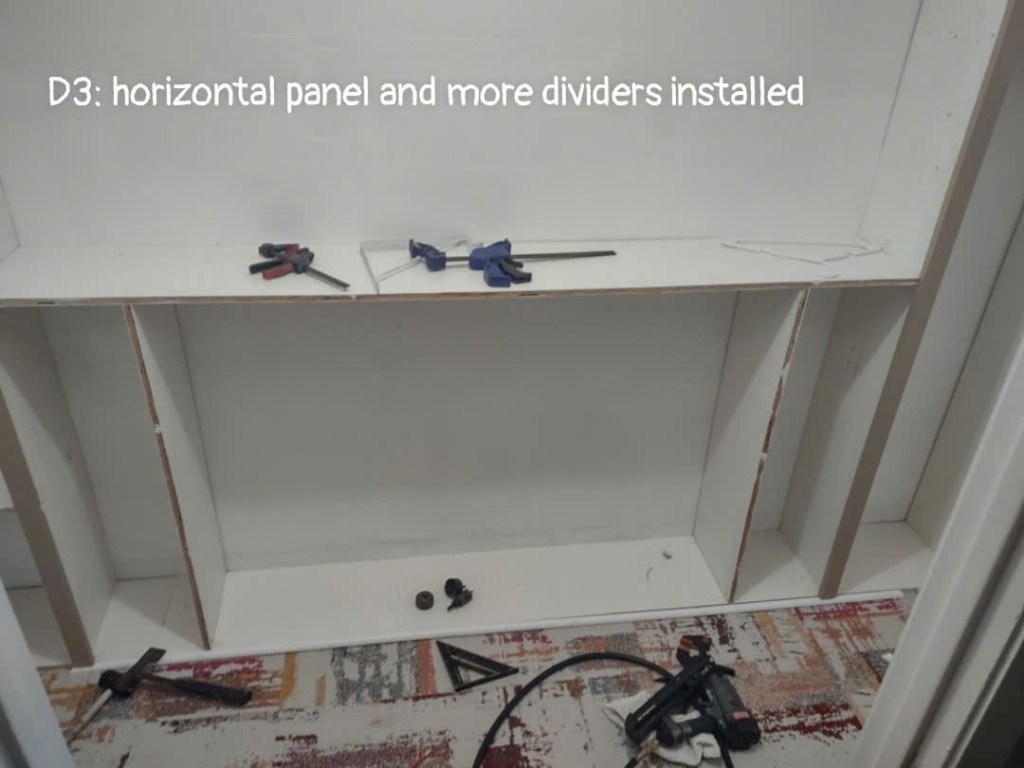
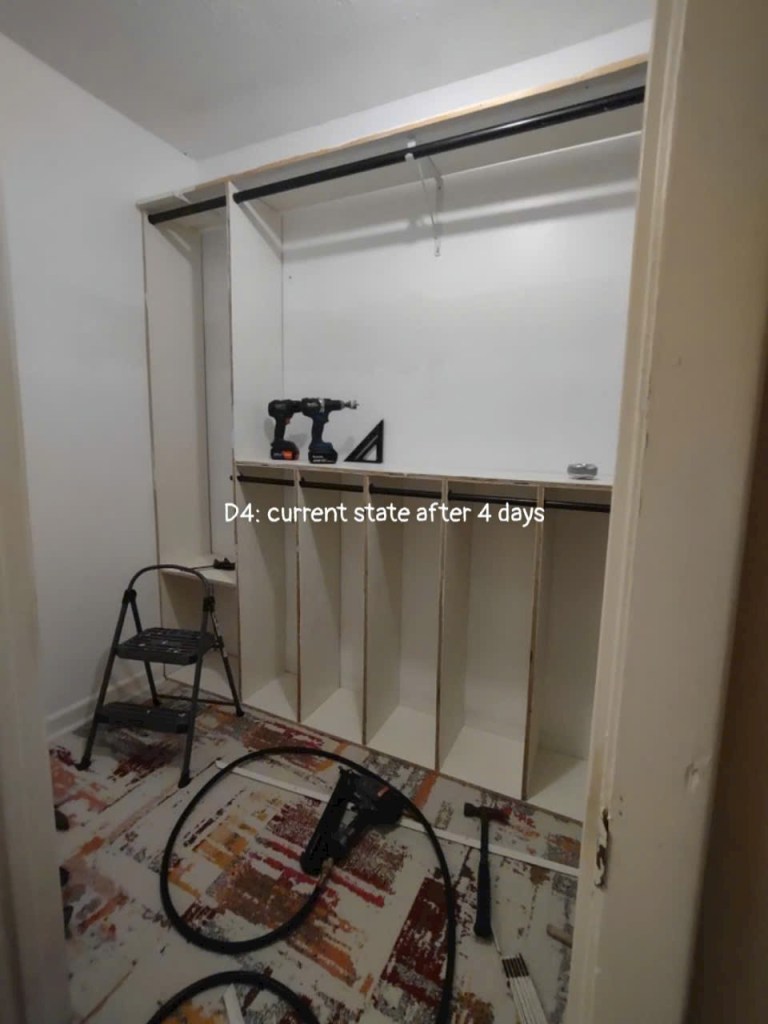
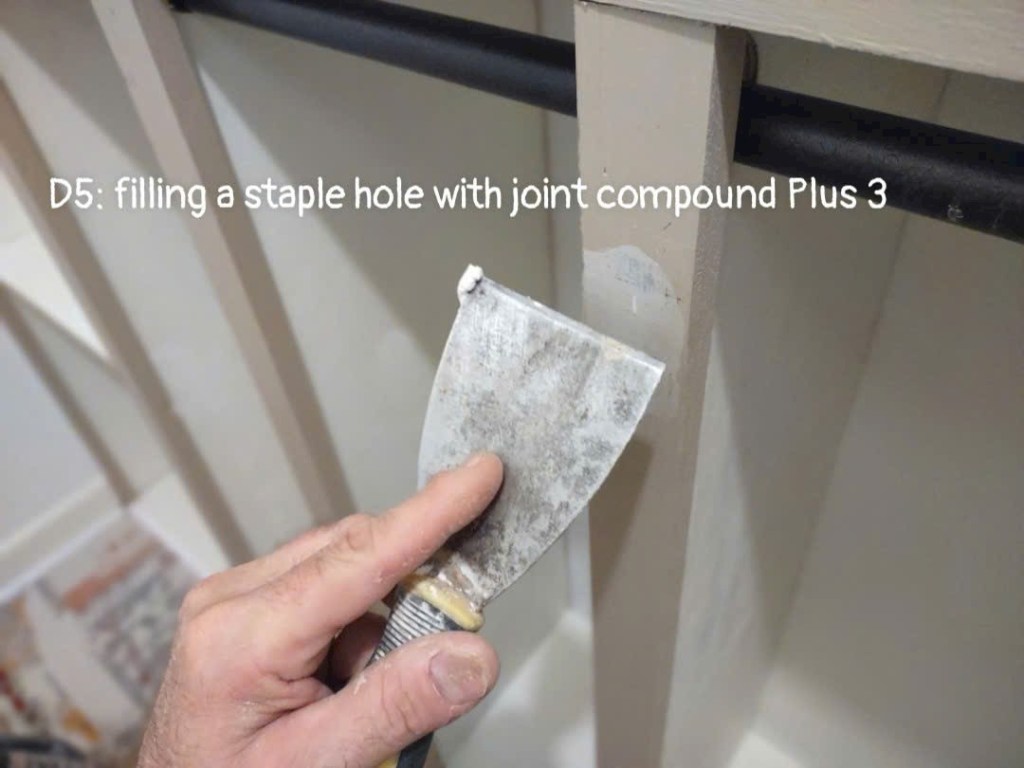
The plywood, being a cheap material for shelves, however, had surface imperfections, so we filled holes and cracks with joint compound before painting. The edges of the plywood dividers weren’t attractive due to the visible layers, so we used trim to cover them to improve the appearance.
We used cream for shelves, white for the walls, and brown for the trim to create some contrast. Since white on the walls has different shades, there are some uneven colors on some spots. But those won’t be noticeable once the closet is going to be filled with clothes. Also, we are not going to stay here for long and our main goal was to use up the leftover paint, so we’re not too concerned about the unevenness.
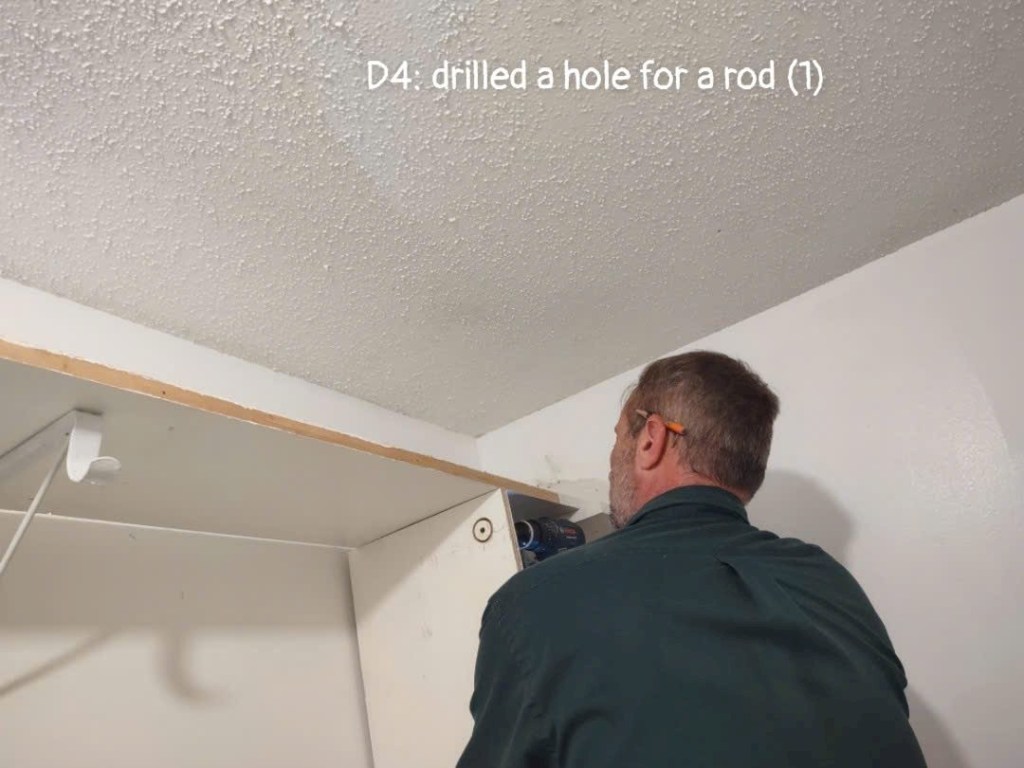
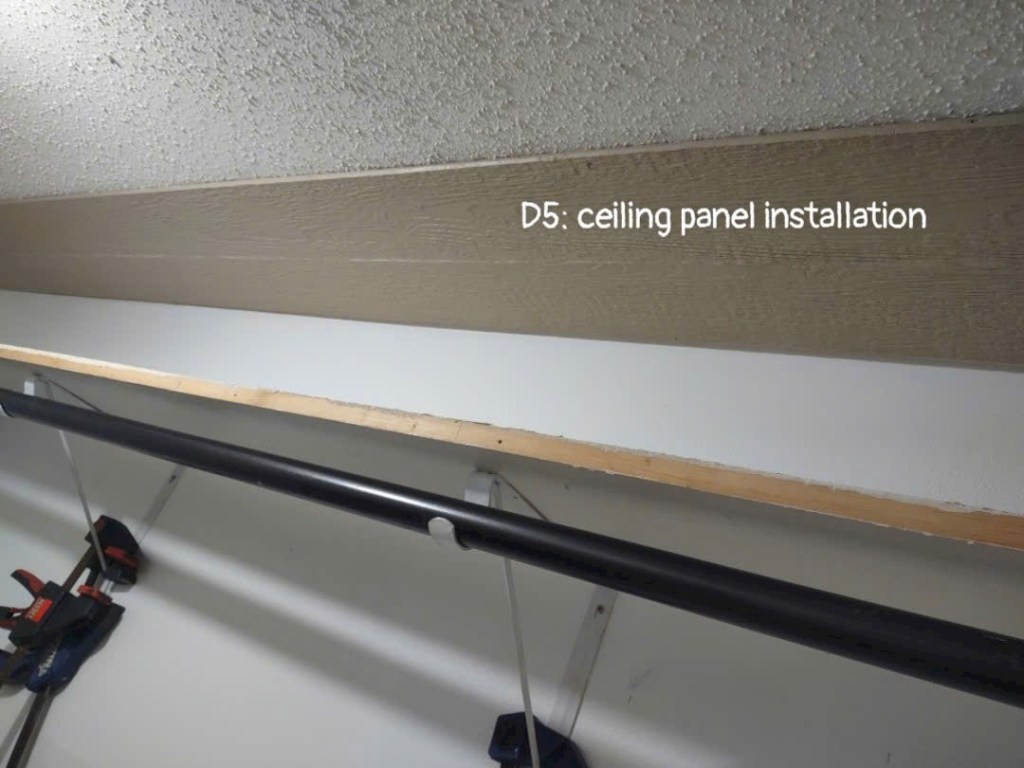
Instead of buying a hanging rod, S chose a metal pipe and cut it to the required length. This saved us money, as the pipe was much cheaper than purchasing a pre-made hanging rod.
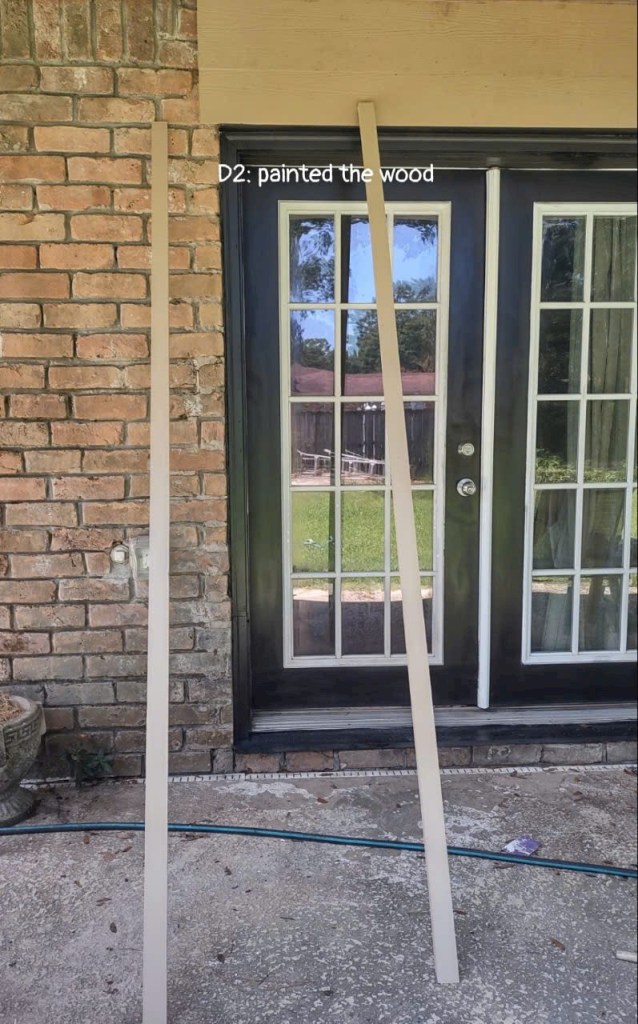
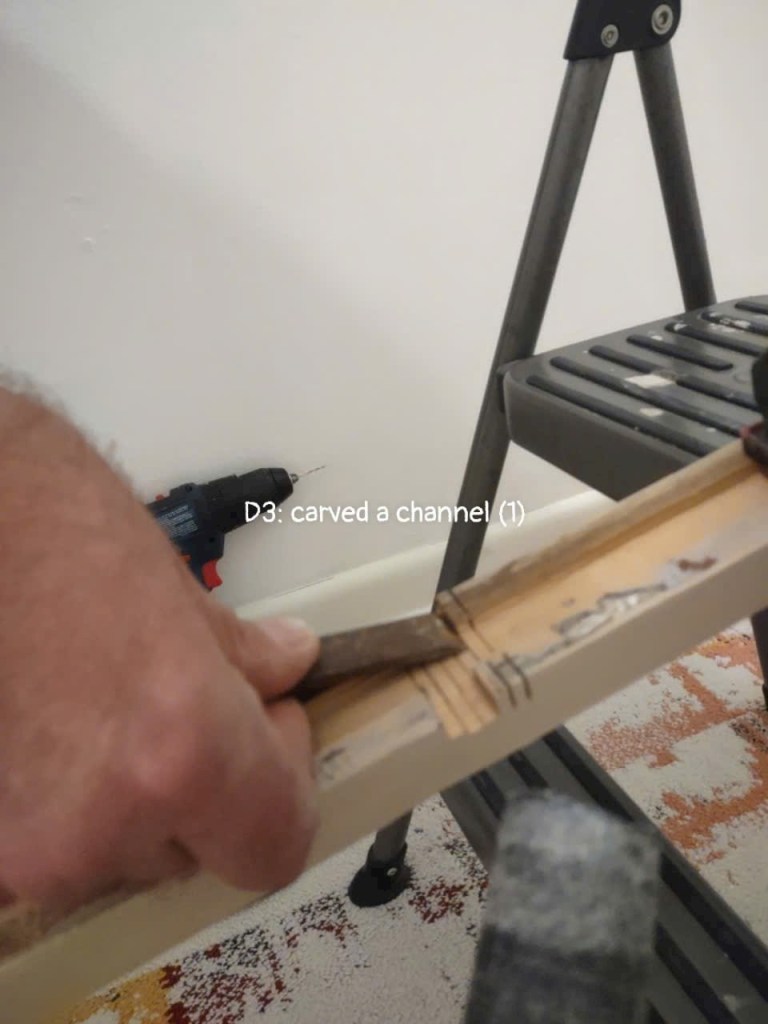
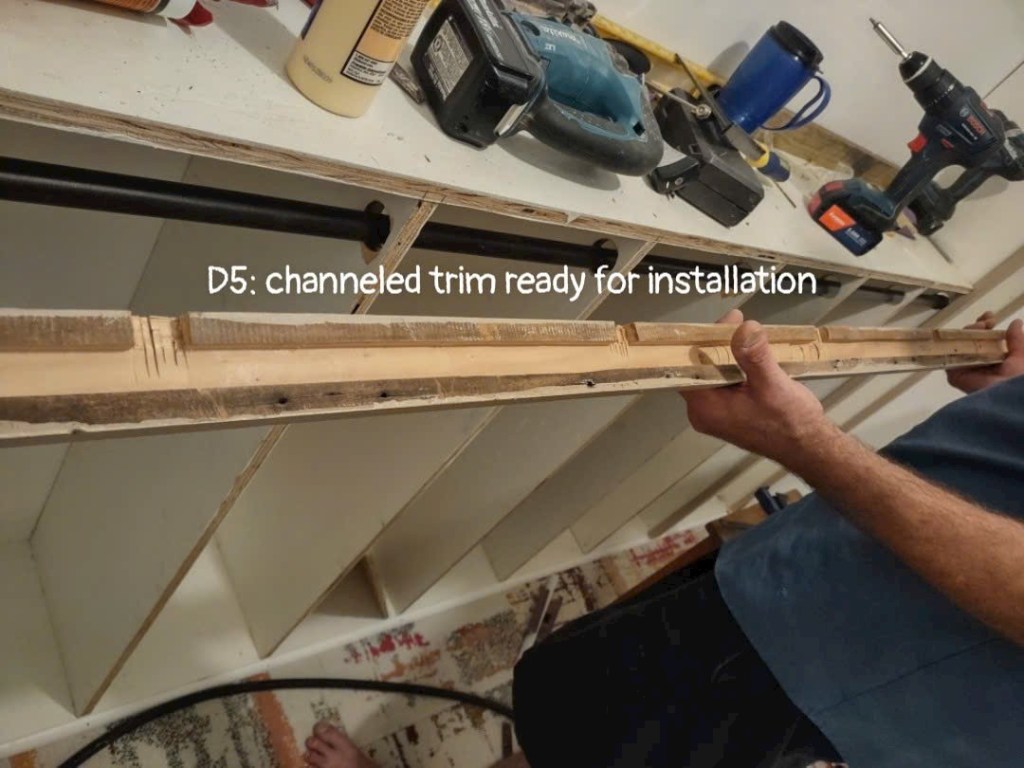
We repurposed trim to cover the edges of the plywood dividers. This trim, originally part of the house’s exterior boards, is very solid, and we’re pleased we didn’t waste it.
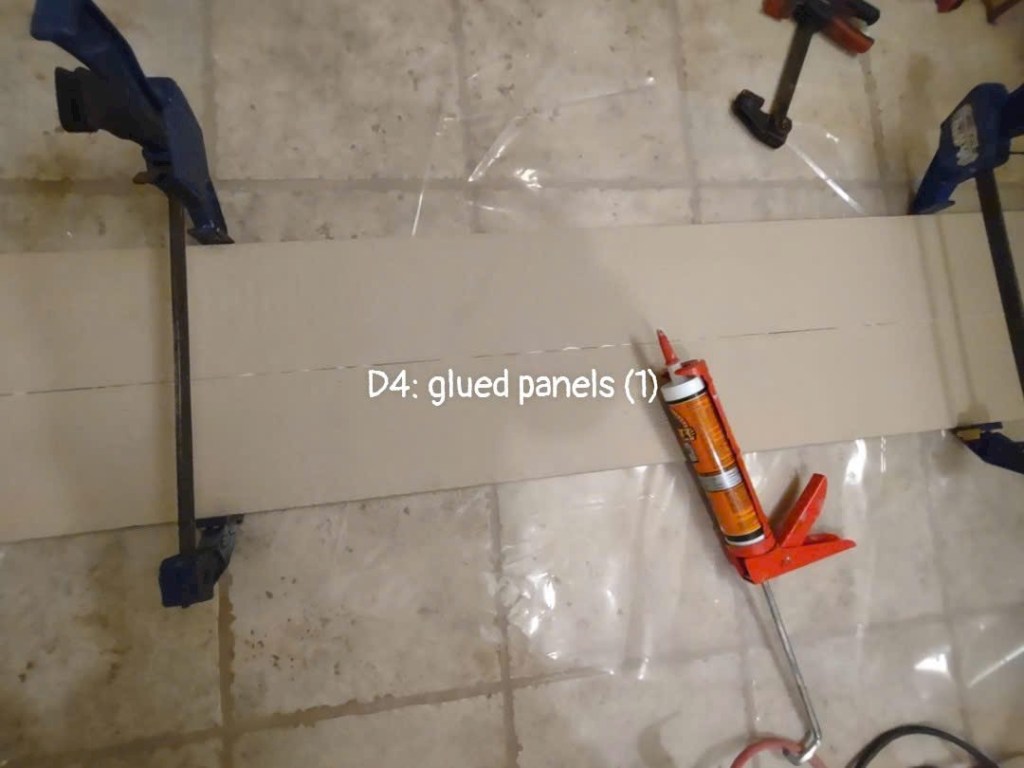
The top panel on the ceiling is actually a leftover panel from an overhang. We glued two panels together to fit the space we needed.
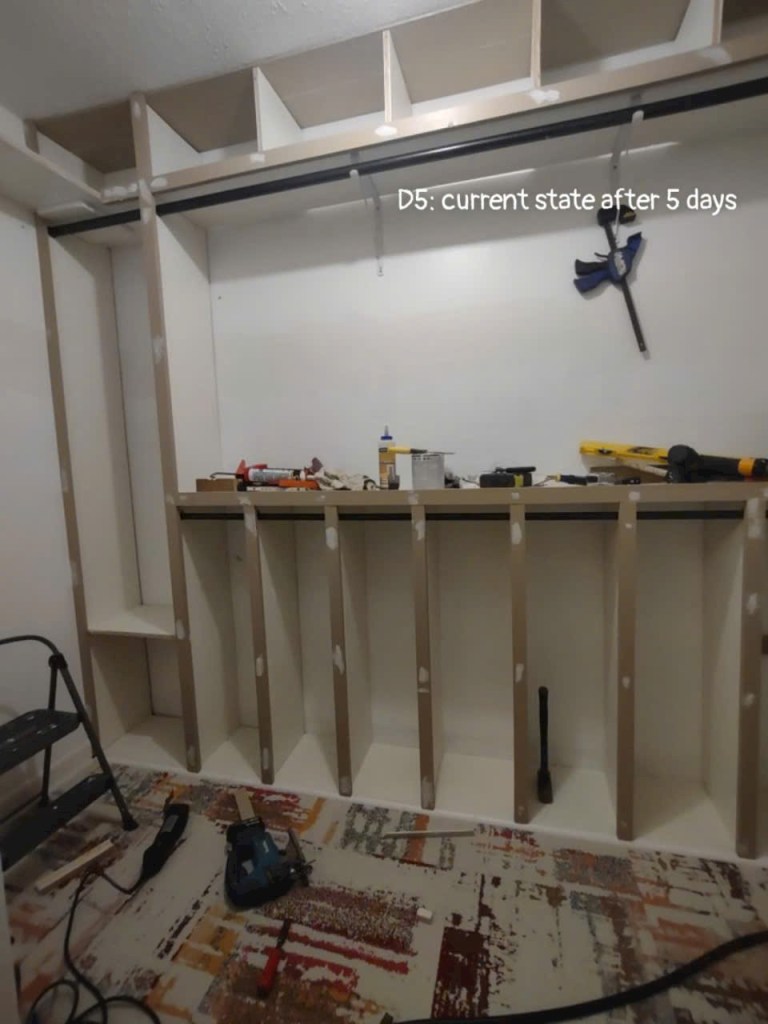
It took us 5 days to complete the project, but we only worked for a few hours each day since S was busy with other tasks.
We still haven’t built the storage boxes for the sides or developed the areas facing the central part of the closet. However, we decided to stop and focus on other priorities before we move. The closet is already looking nice and functional, and it’s a significant improvement over the original one we’ve had since we moved here.
I forgot to mention that I bought paintings from a thrift store for around $5 each. They match the color scheme of the closet and the rug. Also, I love the colorful rug squares that I bought two years ago on Google Shopping. I recall getting a great deal on them, and the quality is excellent.
With the closet complete, we can move on to the next tasks we want to touch up around the house before our move. Our current situation is unexpected but it’s understandable given life’s unpredictability. I hope our journey will go smoothly, that we can keep things under control, and that we end up in a place where we can build a peaceful and stable life.
Check our detailed closet renovation below:
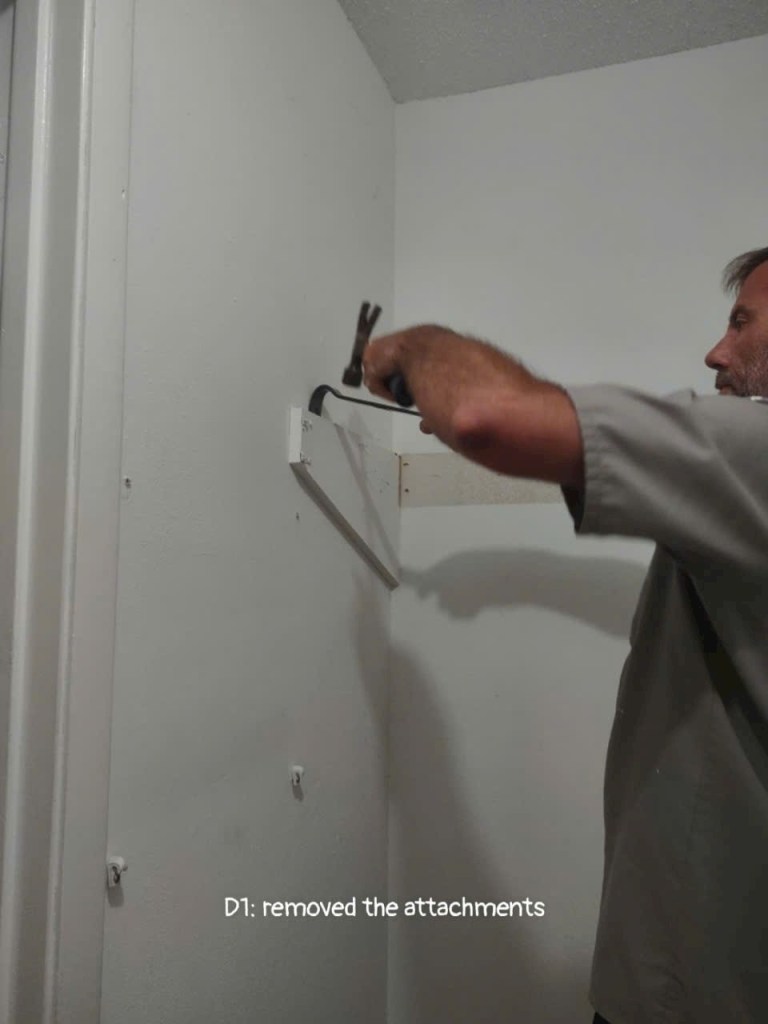
Day 1:


Day 2:


Day 3:


Day 4:


Day 5:


Update: I double-checked the price of the metal pipe, and it was $40, not $20. It’s not cheaper than pre-made hanging rods that S told me about.

Leave a comment