
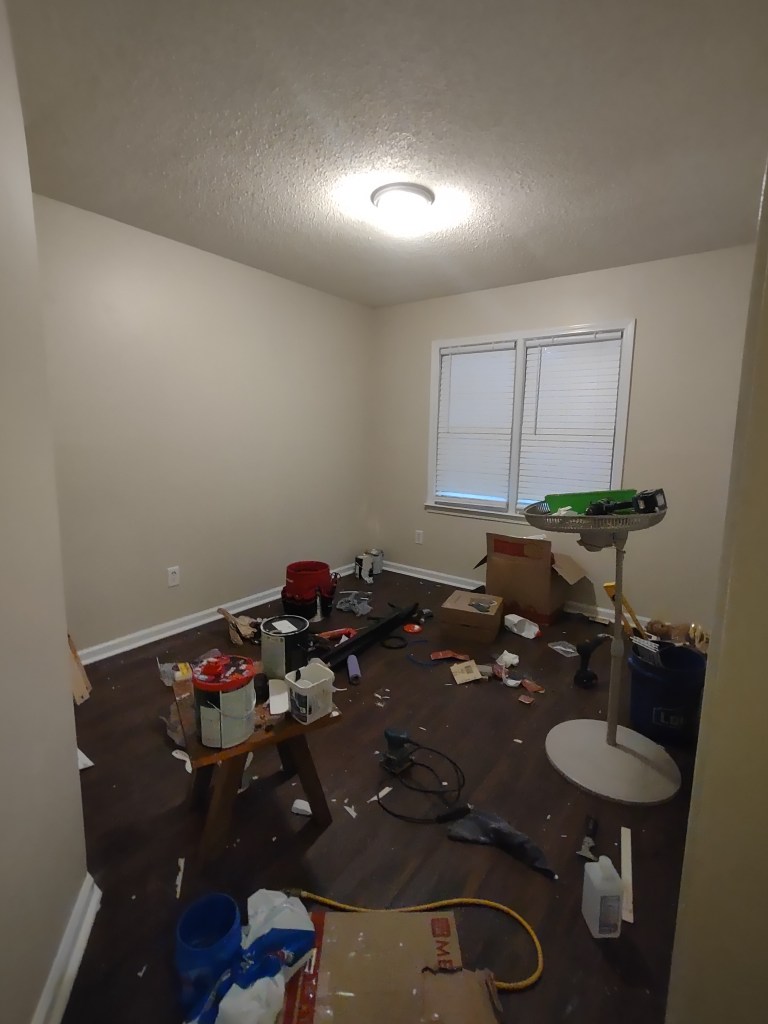
At week 34 of the pregnancy, we felt pretty confident. We had gathered most of the essentials for our baby, including the nursery furniture and decorations, and we thought there was still plenty of time to put everything together. However, things didn’t go as planned. I ended up delivering at week 37—three weeks earlier than scheduled. With only two days left to prepare, our schedule was thrown off, and S had to rush to get the nursery ready before our little one came home.


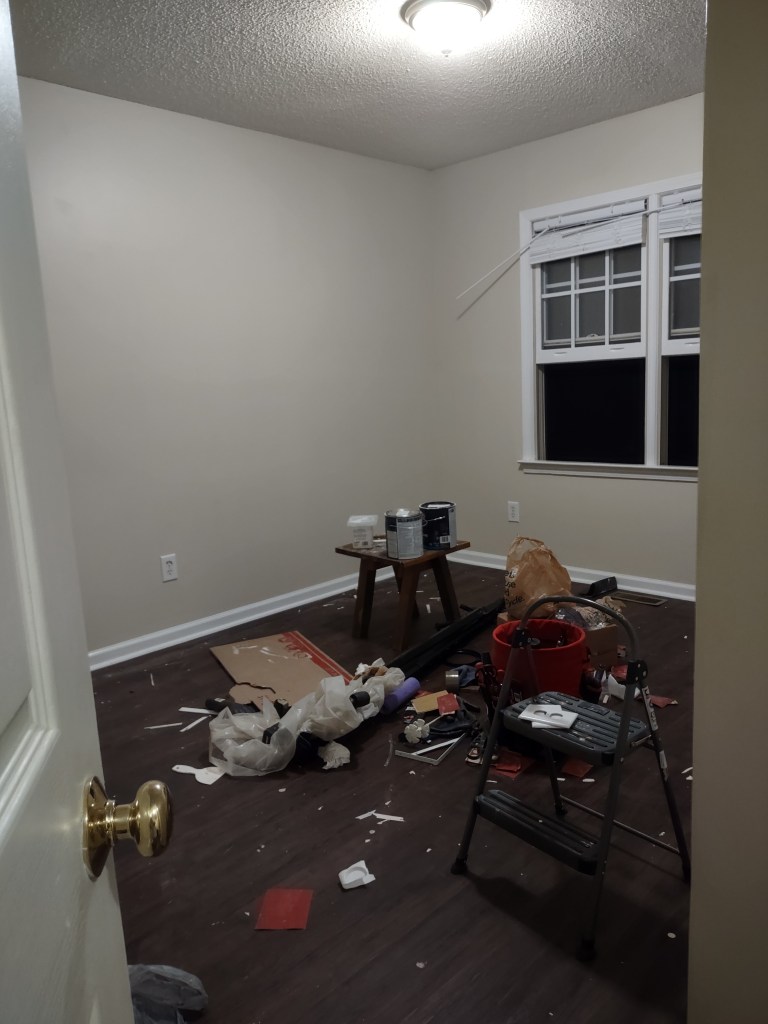
One of the first things we had done earlier was painting the room. S got started quite early, before week 34. He didn’t just give it a quick coat of paint—he filled every tiny nail hole, repaired cracks, sanded everything smooth, and then carefully painted the walls, trims, and baseboards. It was a lot of work, but the results were beautiful, giving the room a fresh, clean feel. And he didn’t stop at just the nursery; he decided to paint the whole house. This wasn’t part of our original plan and ended up taking much more time, which delayed the assembly and decoration of the nursery.

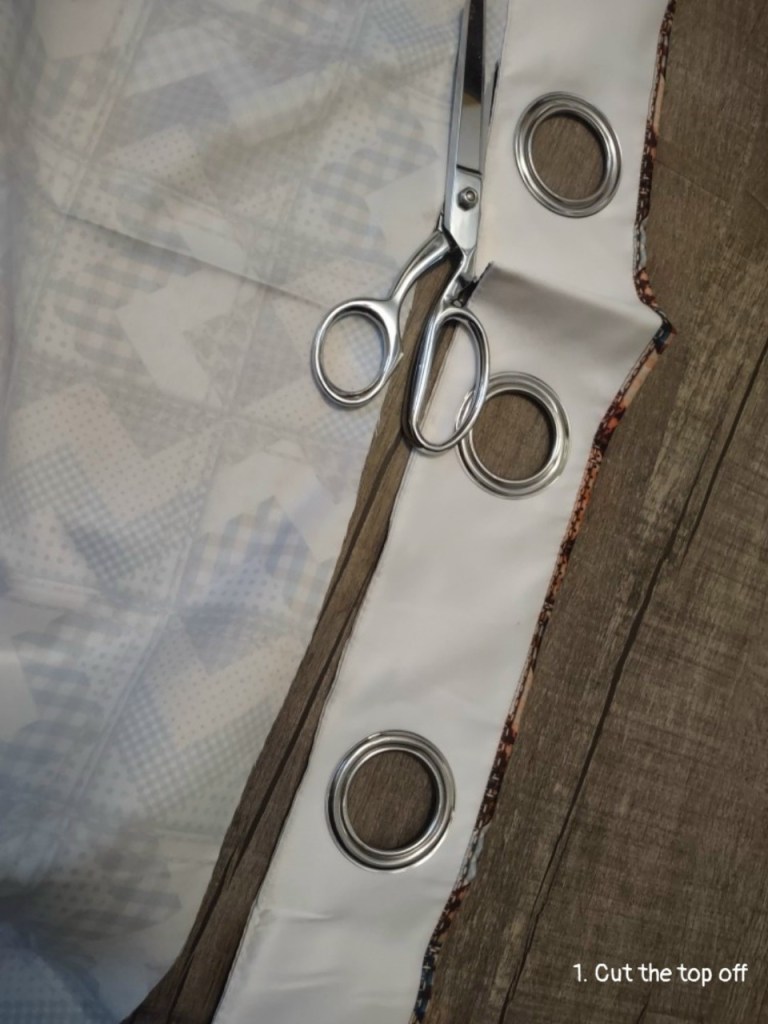
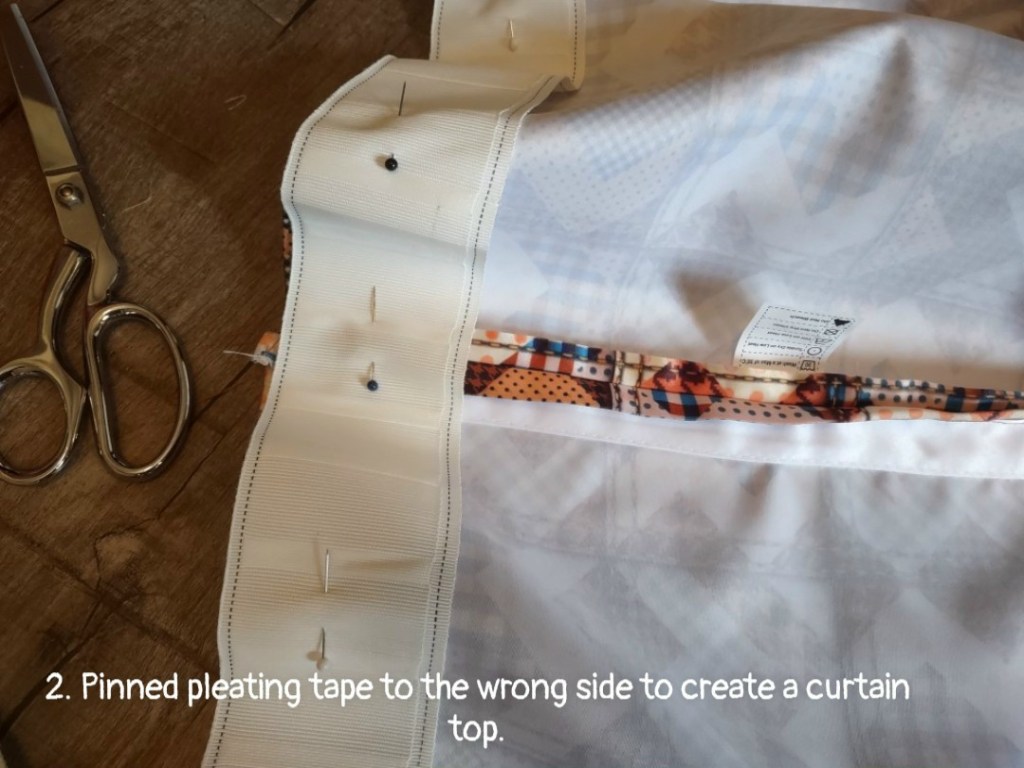
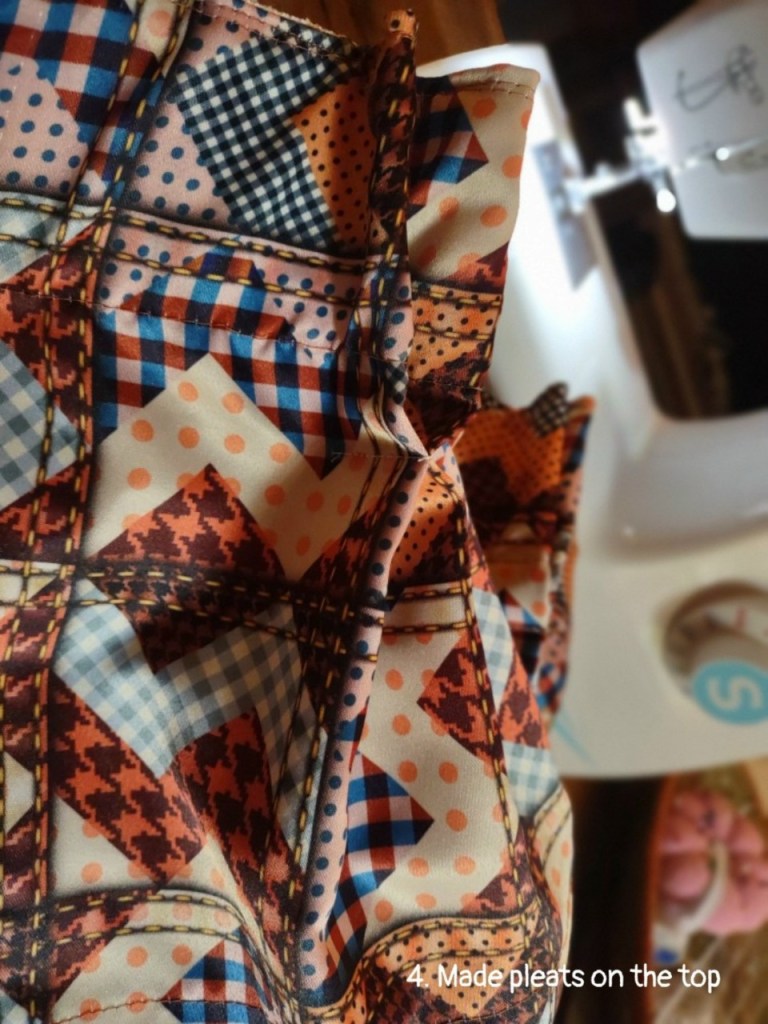
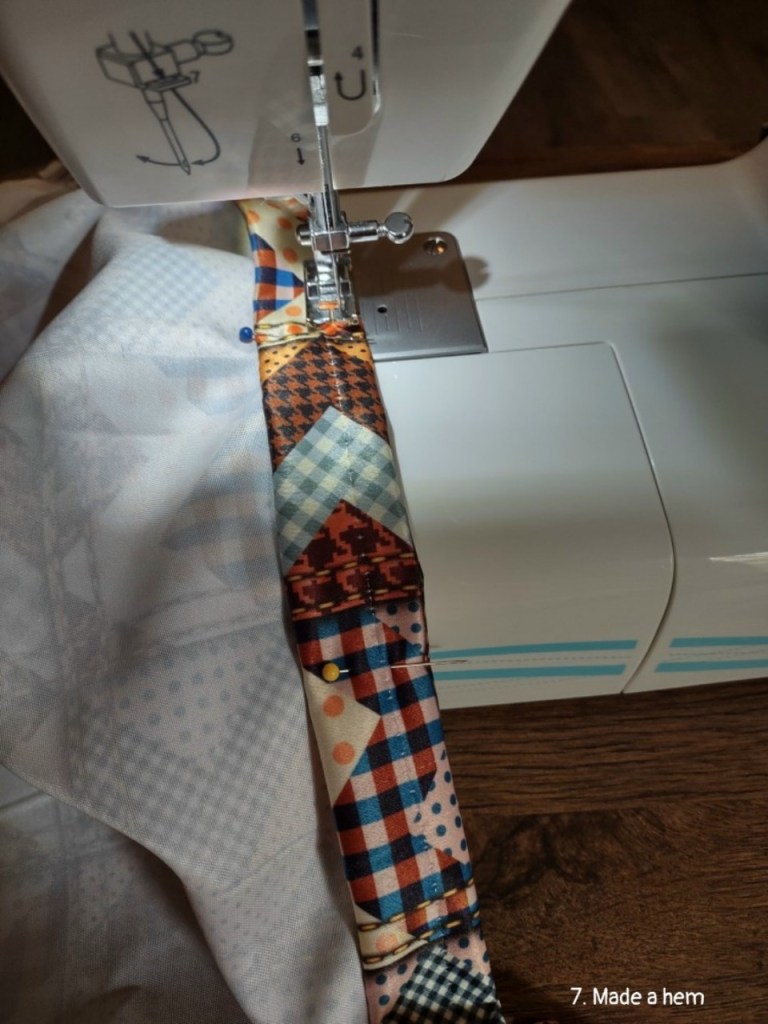
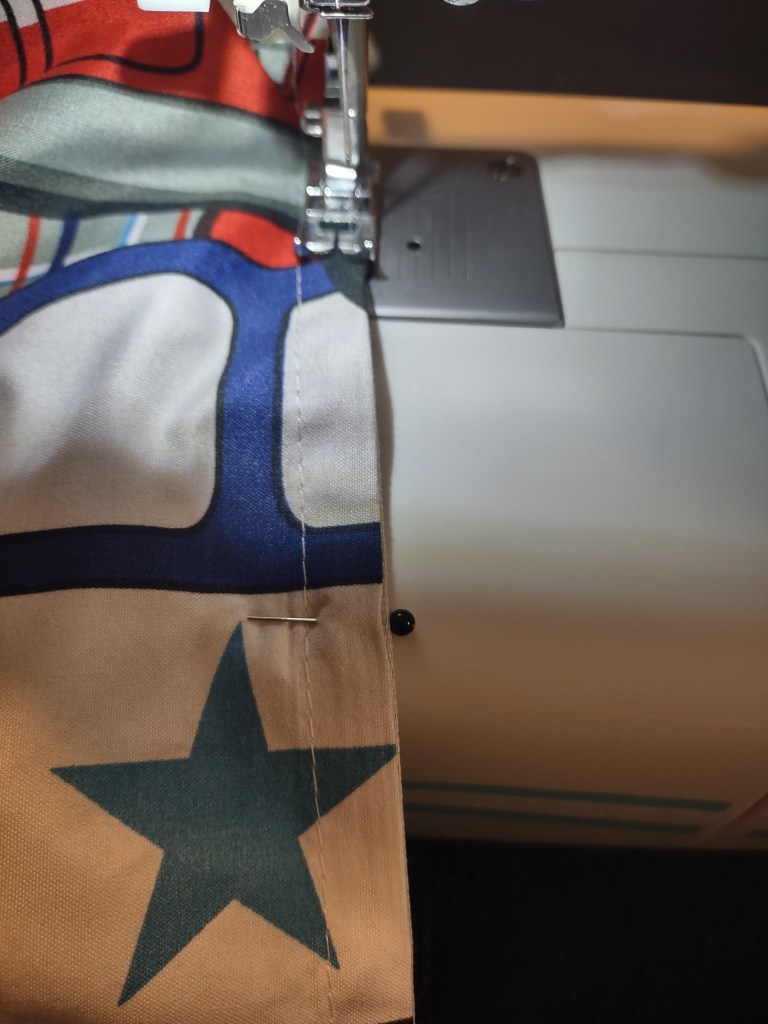
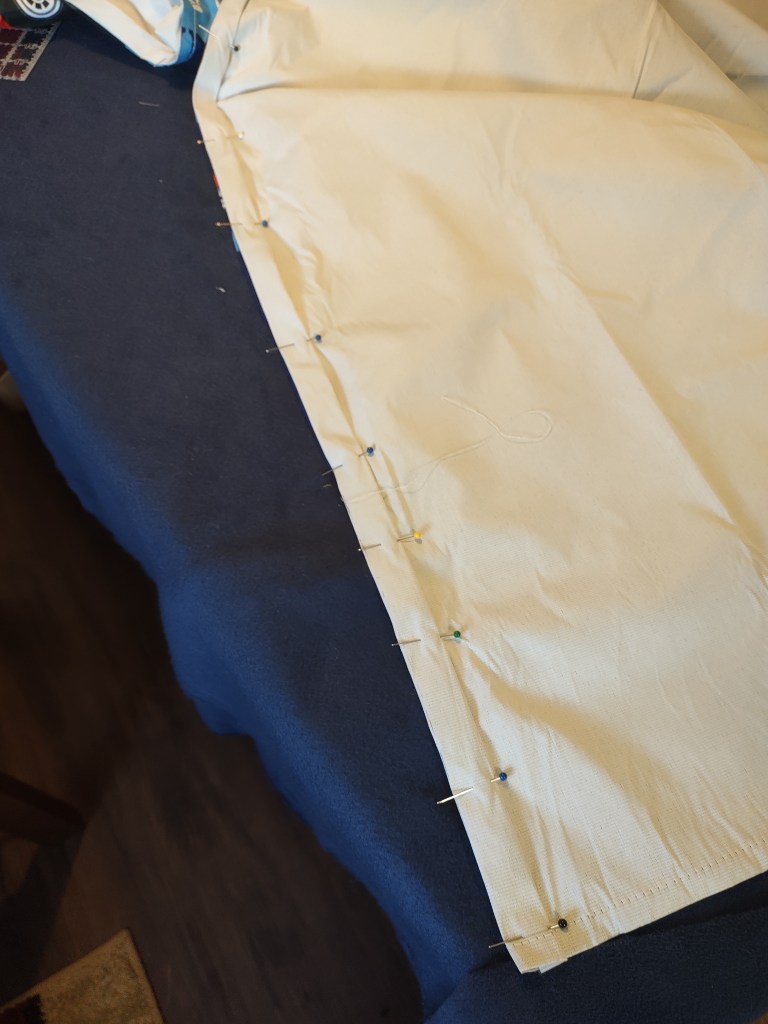
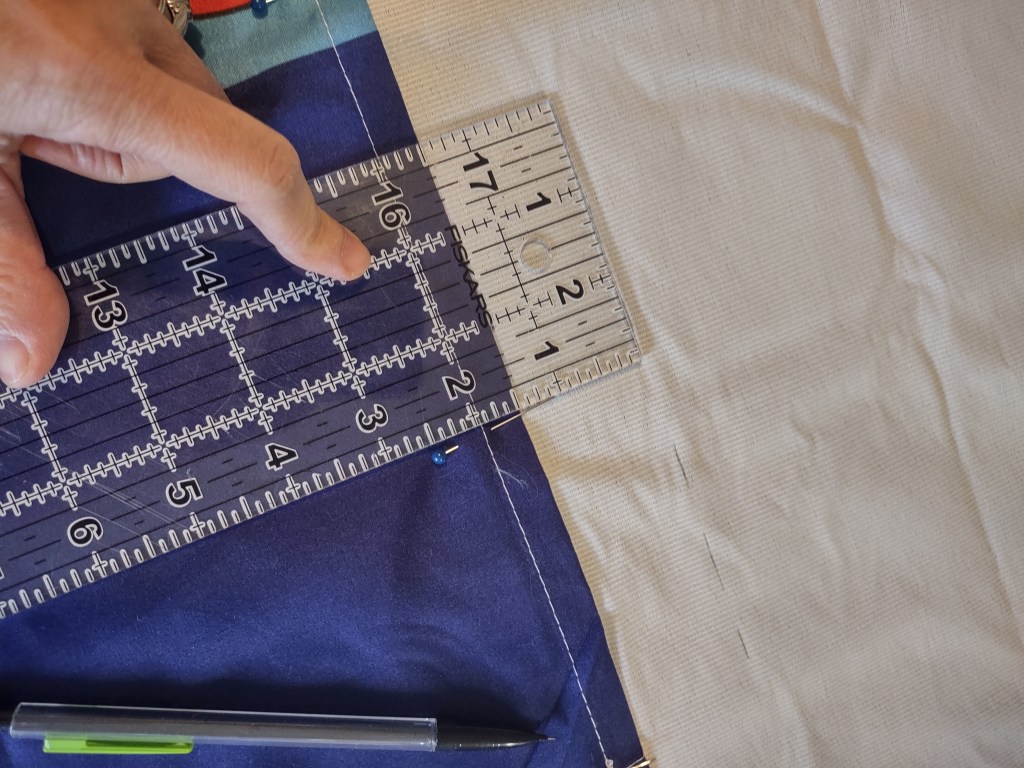
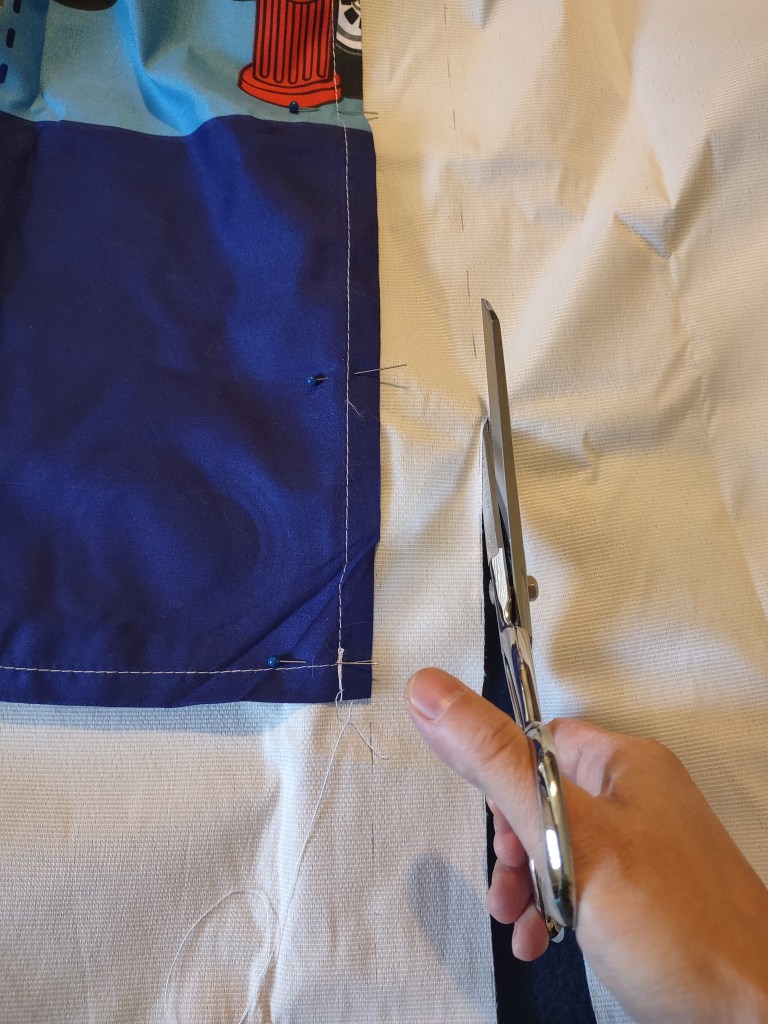
During that time, I worked on the curtains I ordered online. Cost only around $15 for 2 pieces, I could tell they were thin and flimsy, but I chose them for their bold, playful prints. To improve them, I added a blackout layer, which not only blocked the sunlight but also added more weight and since it’s longer than the curtains, it helped extend their length. This method saved me a lot of time since I didn’t have to buy extra curtains, cut them & sew extra pieces onto the bottom. A simple fix ended up as a design feature, and I was happy with how the curtains turned out.
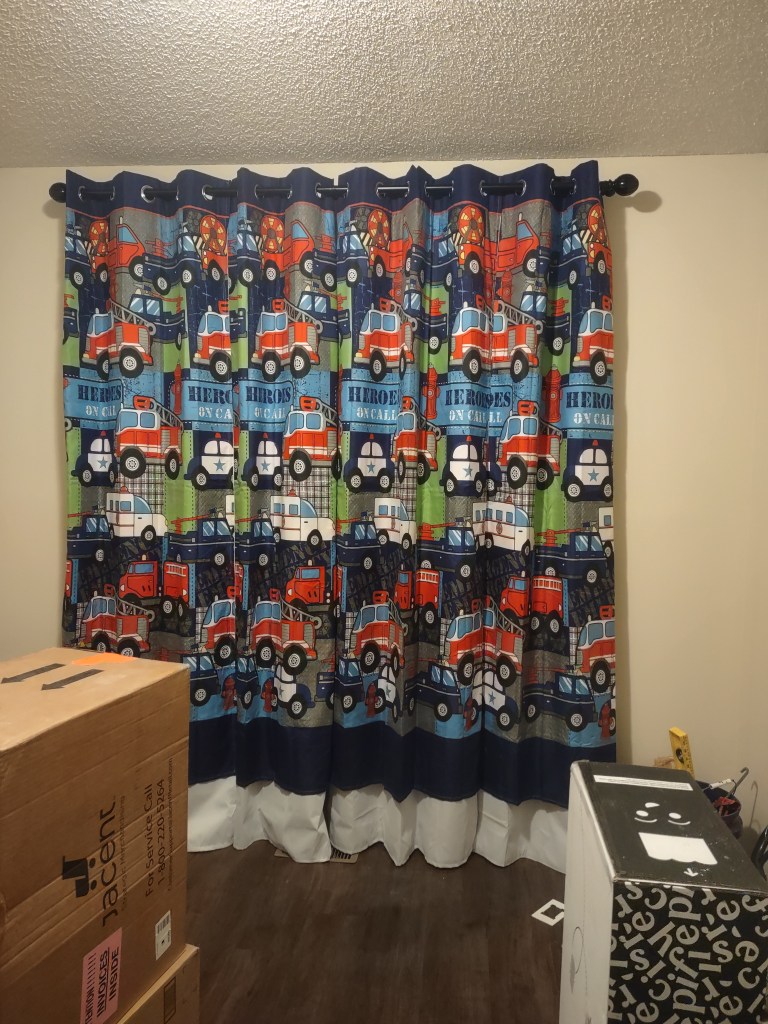


It’s interesting that at first, I loved how vibrant they looked, but as the rest of the room came together, I realized I was instinctively moving toward a calmer, softer vibe. The curtains feel a little too sharp compared to the rest of the room, but it’s an easy fix. I can add a sheer layer to soften them or use some “bridge colors” to help the bold tones flow more smoothly with the softer ones. Or maybe all I need is just a little time to get used to this new color mix.
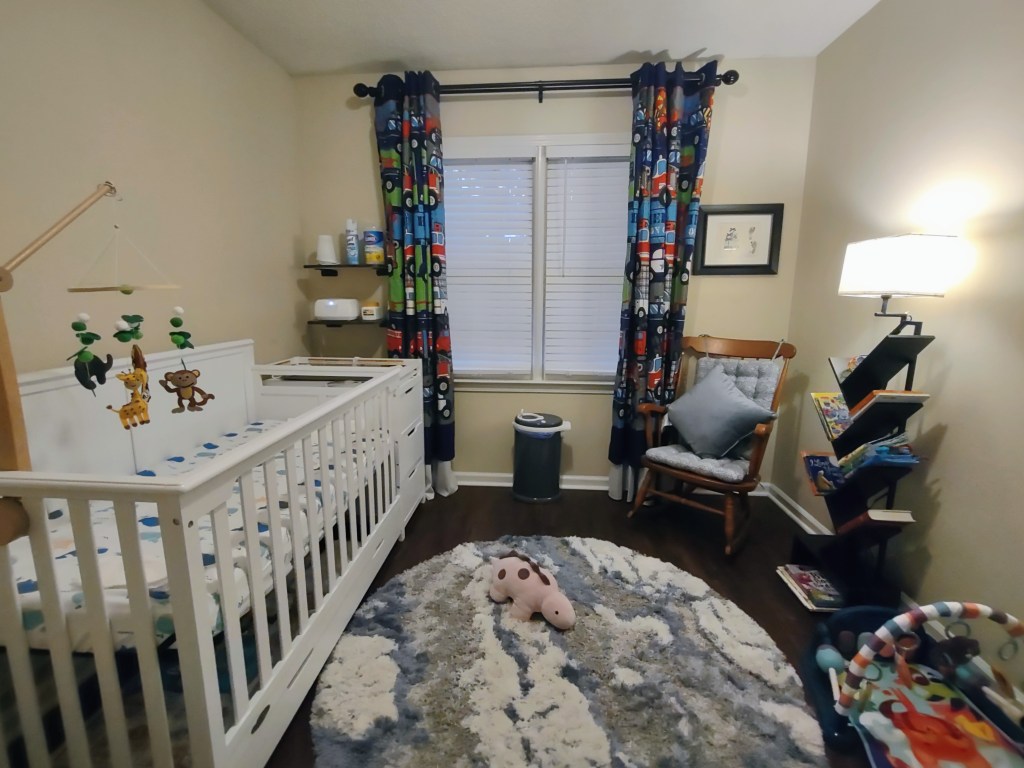
Since the main color of the room is creamy white, (…) , with late blue as a secondary color and sunny yellow and bright red as accent tones, we chose a rug that picks up some of these colors and features an abstract pattern, reminding me of clouds, or moonlight on the water. At first, I hesitates a little bit to get the rug because I was afraid its pattern might clash with the curtains’. But it looks so cool that I decided to go for it, especially with S’s encouragement. I especially love the rug’s round shape, which softens the boxy corners of the room and furniture.

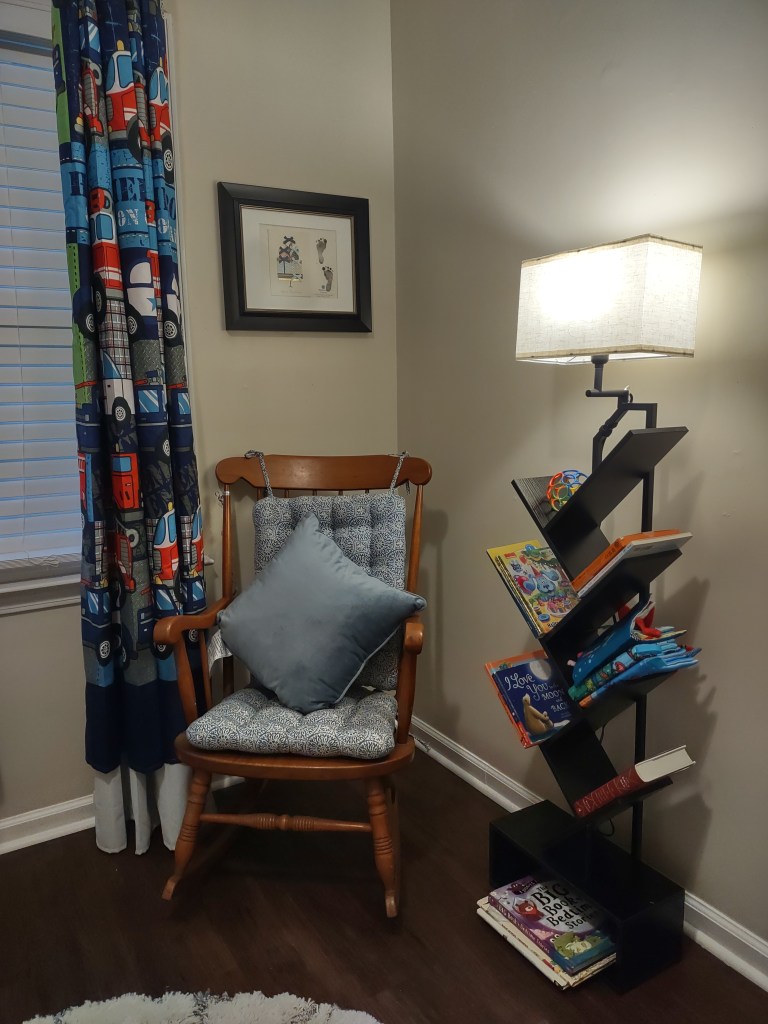
One of my favorite purchases was a bookshelf lamp. Instead of a traditional bookshelf, I wanted something space-saving functional, which I found in that lamp. I’m usually a bit nervous buying furniture that’s less than my price range for something like this because it can look worse than in the photos. I didn’t expect it to feel fancy or luxurious, just that it wouldn’t look cheap. Happy to say I’m not disappointed. I got it for $50 after a “50% off” discount. Anyway, the discount is a joke. You can find the same lamp on Amazon for the same price without any discount. I got mine on Wayfair, fyi.
Currently, it serves several purposes: Lighting, storing books, and decoration. However, once M starts crawling and walking, I’ll probably have to move it elsewhere since the sharp corners of the shelves could be dangerous if he bumps into them.

If I had to pick the most functional item in the nursery, it would be the diaper trash can. It locks in all the odors and holds a lot, which makes such a difference once you realize how many diapers you go through in a day. They would stink if left in a regular trash can, and you’d be exhausted taking the trash out after every single change. I didn’t even think of buying one when I made a shopping list, but S got it—he’s always careful about sanitization.
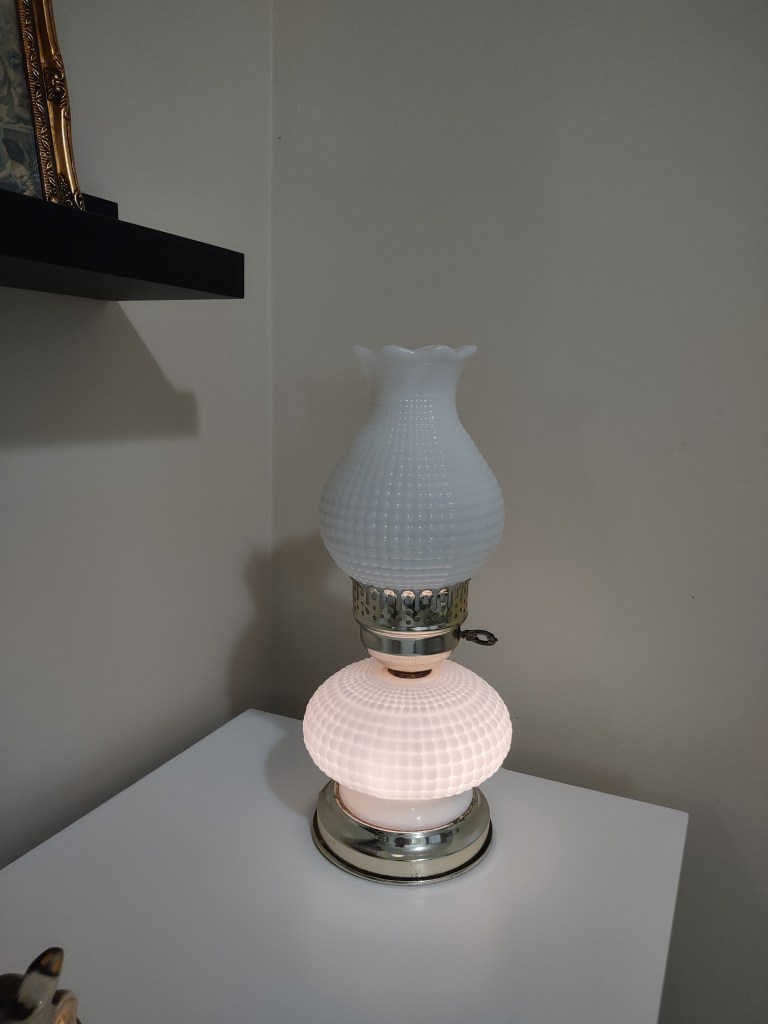
Beyond the practical stuff, the sentimental details are what make the nursery feel special. We framed M’s newborn footprints together with a birthday card to create a keepsake. We also displayed a tiny pair of shoes that S wore when he was one year old—carefully kept by MK all these years. MK made & gifted us a colorful painting of animals, which adds playful energy to the room, and then there’s the lamp — a family heirloom passed down from M’s great-great-great-grandmother. These pieces bring history, love, and personality into the space.


There are still a few things I’d like to do—such as adding sheer curtains, putting a rug under the rocking chair, or refreshing it with a fabric cover , but I don’t feel in a rush. For now, the nursery is beautiful, functional, and filled with meaning—a love-filled space for our baby.